Make your own pasta
Welcome to the delightful world of homemade pasta! If you’ve ever savored the taste of fresh pasta, you know there’s nothing quite like it. Making pasta from scratch may seem daunting, but it’s simpler than you think and deeply satisfying. In this post, we’ll guide you through the process, from flour to fork!
Want to Save This Recipe?
Enter your email & I'll send it to your inbox. Plus, get great new recipes from me every week!
By submitting this form, you consent to receive emails from BENSA

Featured Review
You\’ll have to report back once you try it! Would love to hear about your experience!
The Joy of Homemade Pasta
Homemade pasta isn’t just a meal; it’s an experience. The process is therapeutic, and the result is a dish that’s infused with care and flavor. Whether you’re cooking for a special occasion or just for the love of good food, homemade pasta is a sure way to impress.
What You’ll Need

Flour
All-purpose flour works fine, but for an authentic touch, try ’00’ flour or a mix of semolina and all-purpose flour.

Equipment
A rolling pin or a pasta machine for rolling out the dough, and a sharp knife or a pasta cutter.

Eggs
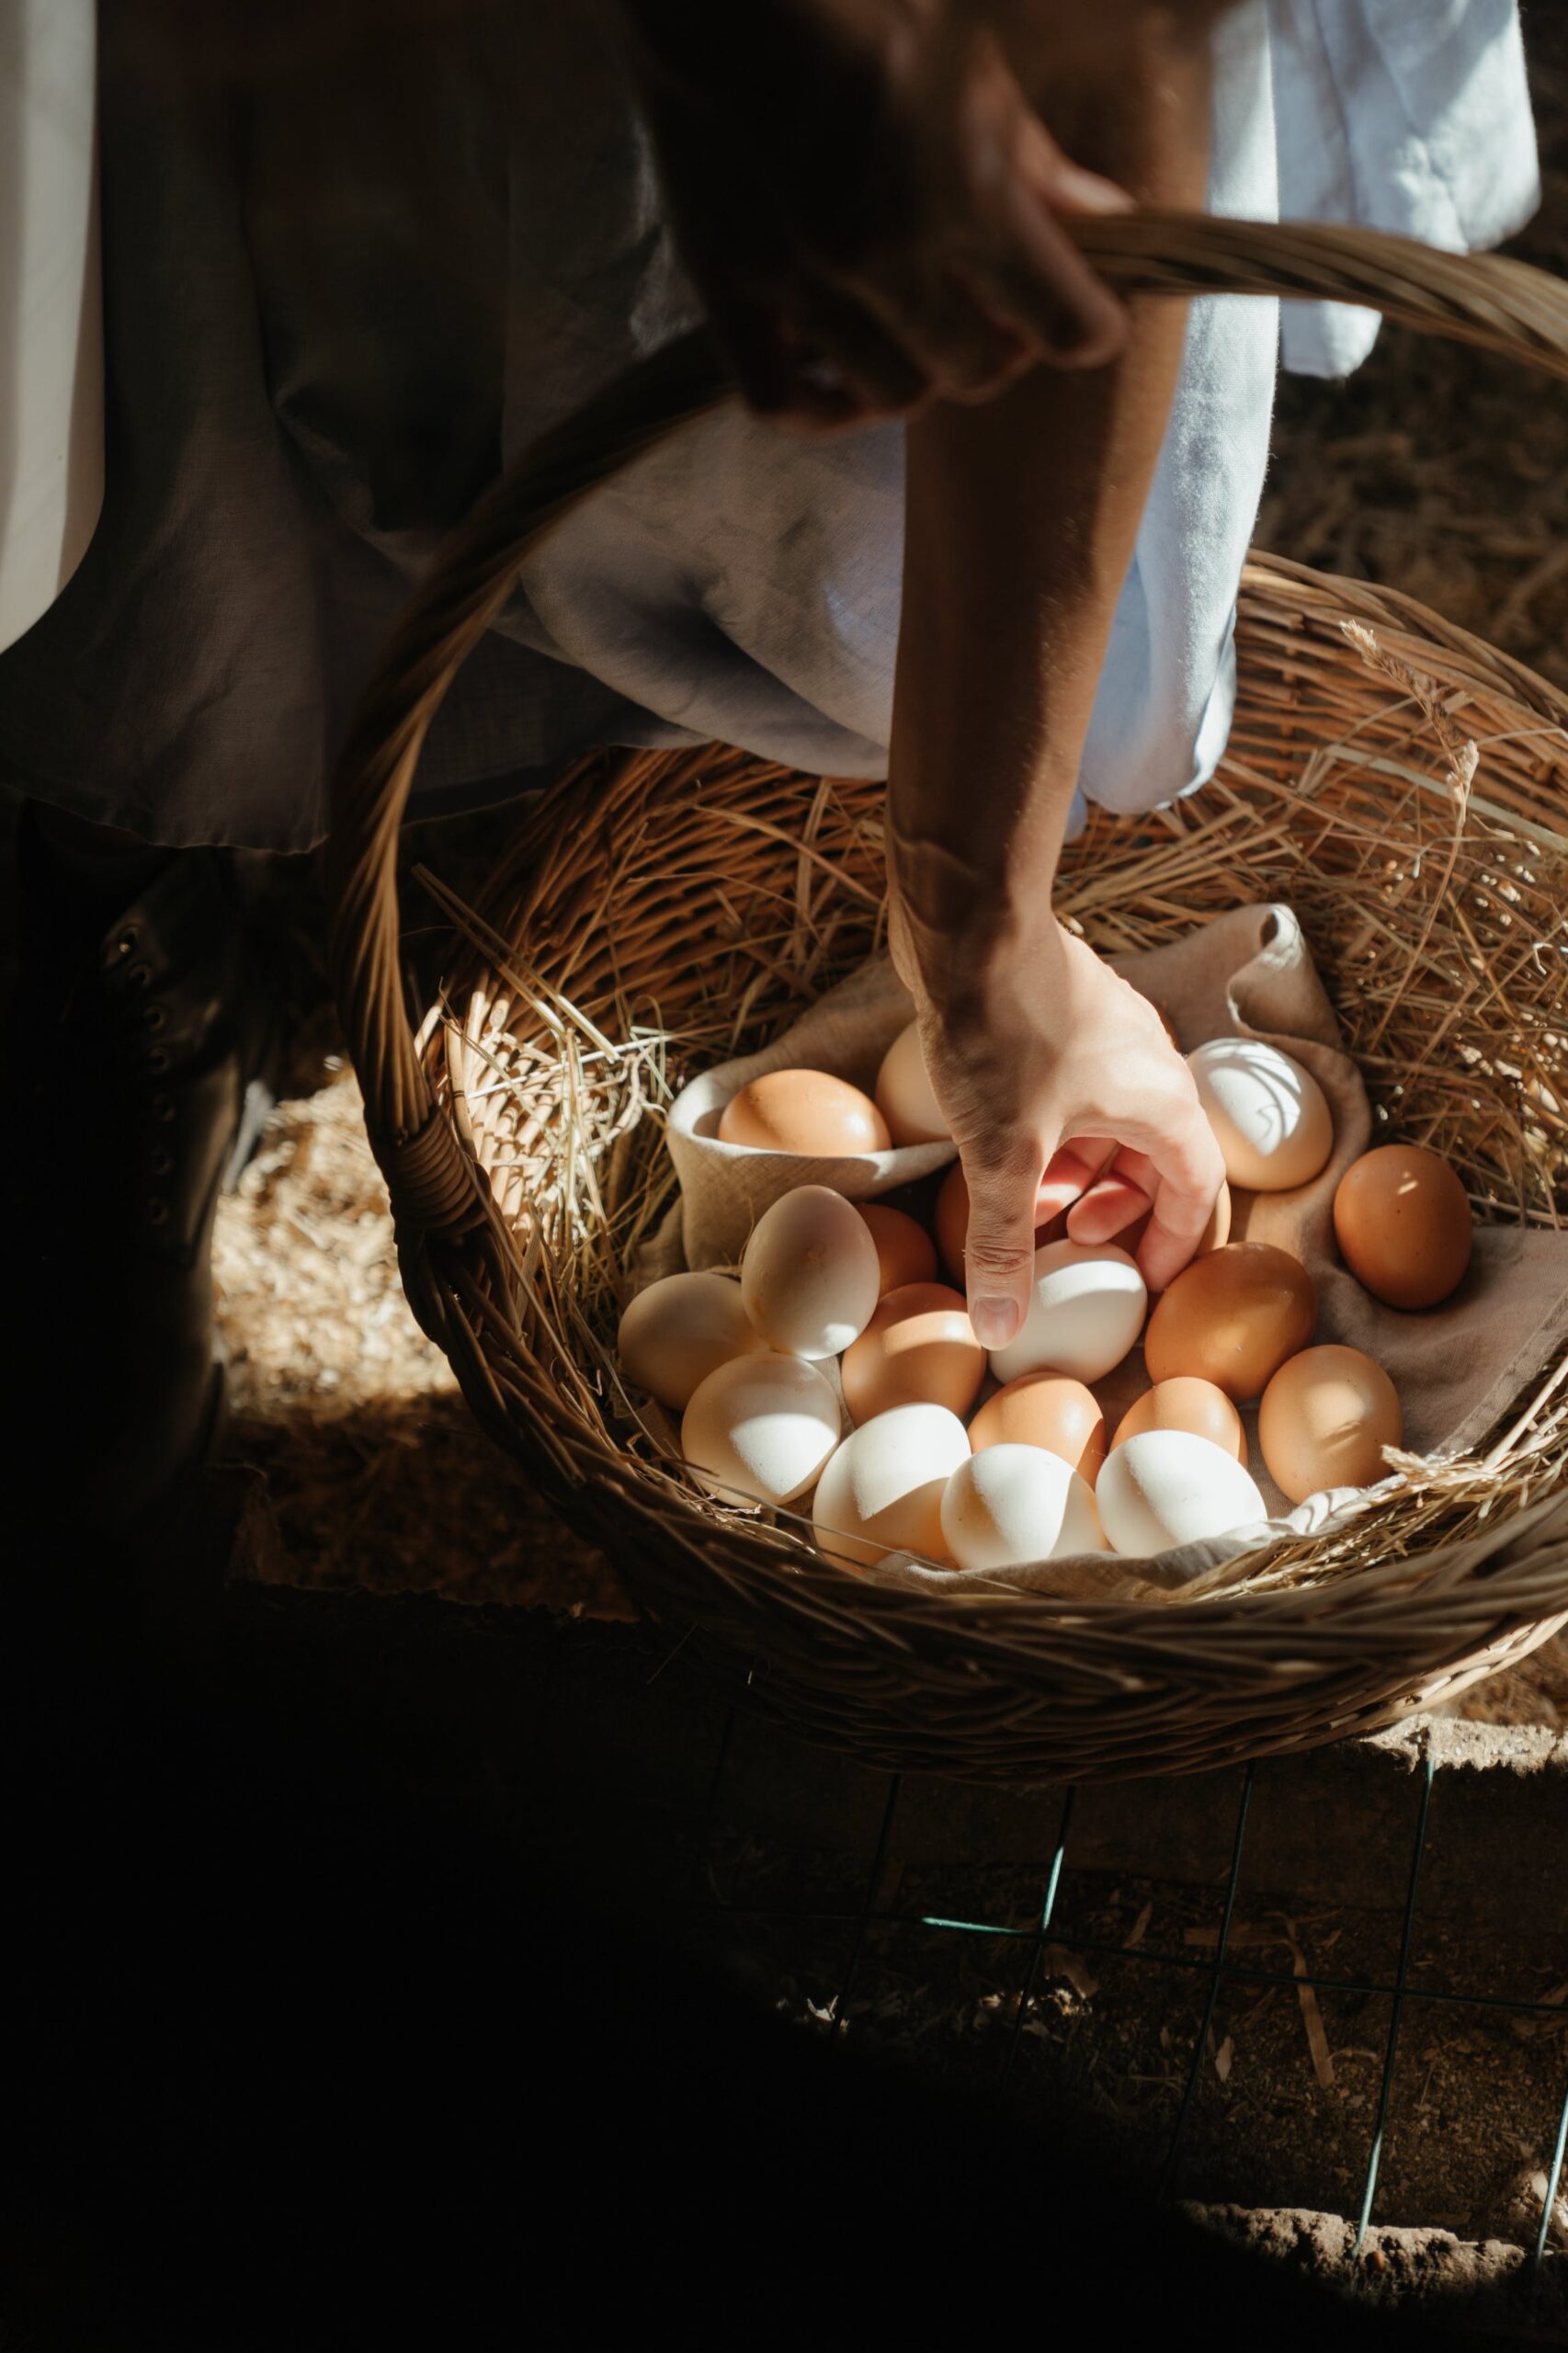
Fresh, room-temperature eggs are essential for rich, tender pasta.

Salt
Just a pinch to enhance the flavor.
Step 1: Making the Dough
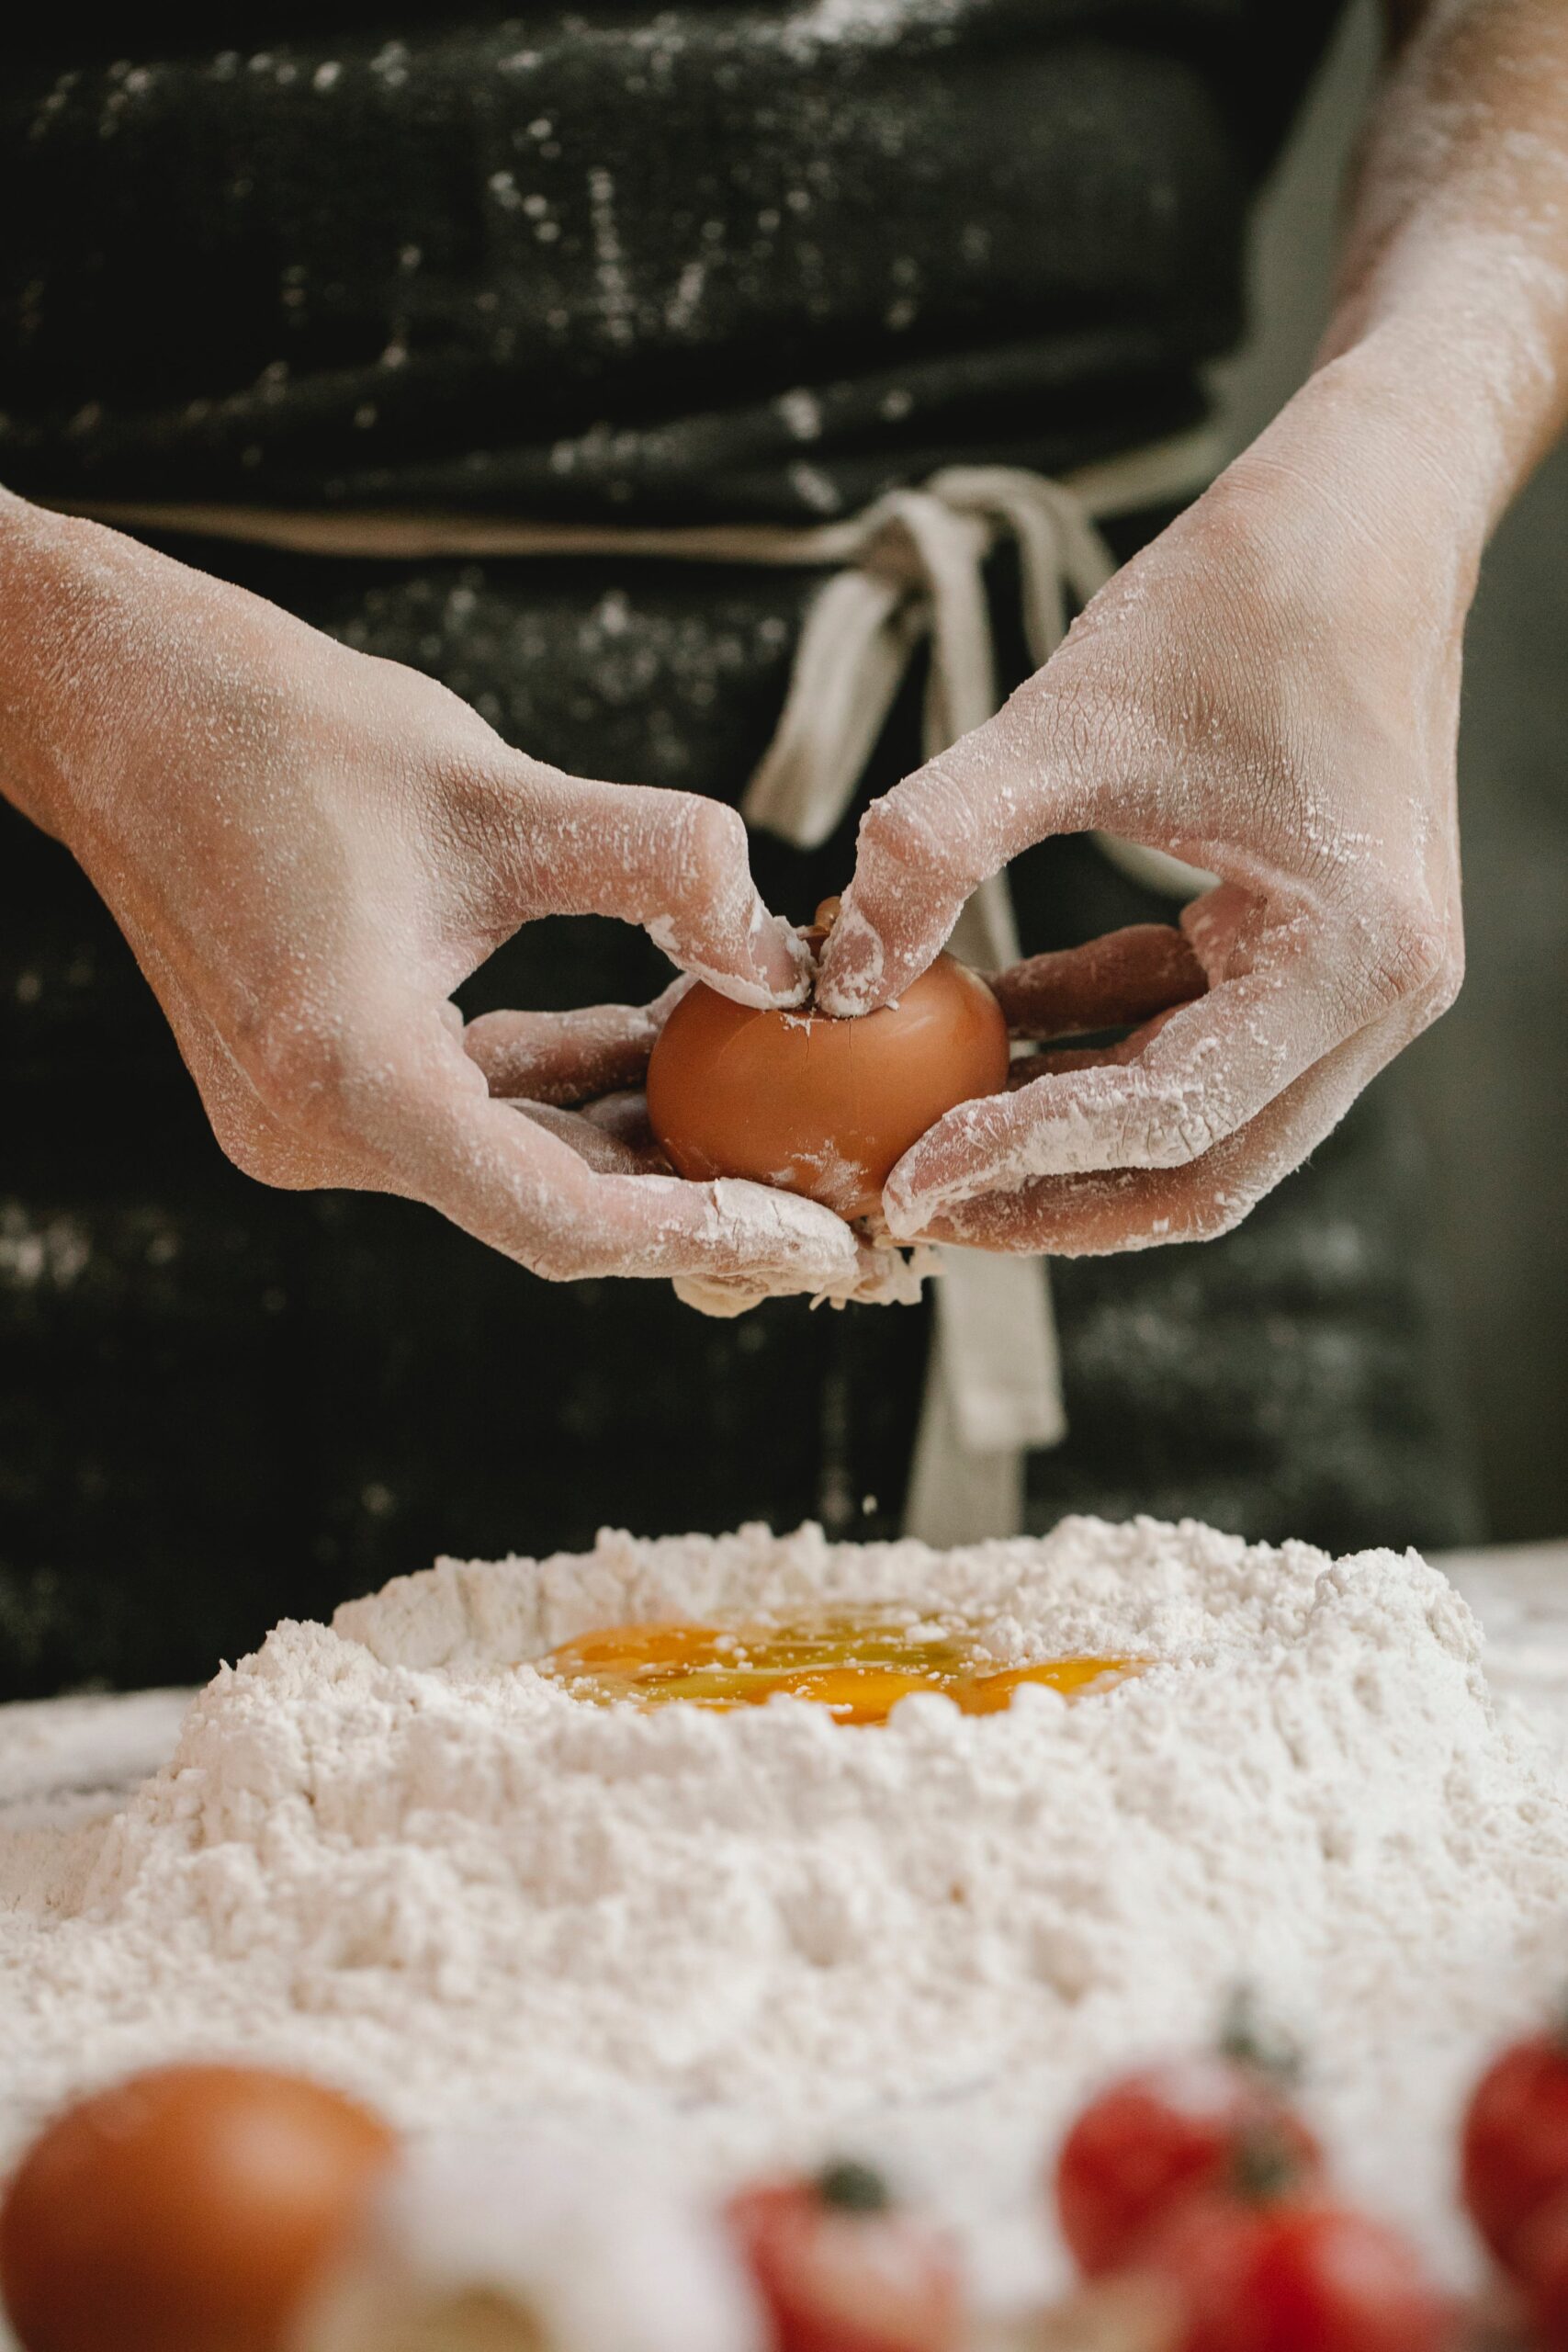
- Mixing: Start by creating a mound of flour on a clean surface. Make a well in the center and crack your eggs into it. Add a pinch of salt.
- Kneading: Using a fork, gently beat the eggs and begin to incorporate the flour. Once the dough starts to come together, use your hands to knead. It’s a workout, but after about 10 minutes of kneading, your dough should be smooth and elastic.
Step 2: Resting the Dough
- Wrap your dough in plastic wrap and let it rest for at least 30 minutes at room temperature. This step is crucial as it allows the gluten to relax, making the dough easier to roll out.
Step 3: Rolling Out the Dough
- Cut the dough into quarters. Working with one piece at a time (keep the rest covered), flatten the dough into a disk.
- By Hand: Use a rolling pin to roll out the dough as thinly as possible. The goal is to get it almost translucent.
- With a Machine: Pass the dough through the widest setting, fold it in half, and repeat several times. Then, progressively reduce the settings until you get the desired thickness.
Step 4: Shaping the Pasta
- Once rolled out, you can cut your pasta into any shape you like. For long noodles, like fettuccine, lightly flour the pasta sheet, roll it loosely, and slice it. For shapes like farfalle or ravioli, get creative with folding and sealing.
Step 5: Cooking the Pasta
- Fresh pasta cooks much faster than dried. Boil a large pot of salted water, add the pasta, and cook for 2-4 minutes, depending on the thickness. It should be al dente – tender but with a slight bite.
The Reward of Homemade Pasta
Congratulations, you’ve just made pasta from scratch! Each time you do it, you’ll get a little better, and the process will become more intuitive. Homemade pasta is a labor of love, and the result is always worth the effort. Buon appetito!
Whether you’re a pasta aficionado or a curious cook, I hope this guide inspires you to try your hand at this culinary art. Share your homemade pasta stories or your favorite pasta recipes in the comments below – let’s keep the pasta love flowing!


I have always wanted to know how to make my own pasta! I can\’t wait to try this!
This was delicious!
You\’ll have to report back once you try it! Would love to hear about your experience!
Testing another reply
Test subreply