Homemade Sourdough Bread
Welcome to the wonderful world of homemade sourdough bread! There’s something almost magical about the process of making sourdough. It’s not just baking; it’s an age-old tradition, a craft that has been passed down through generations. Today, I want to share with you how you can start this journey in your own kitchen.
The Magic of Sourdough
Sourdough bread is unique because it doesn’t require commercial yeast. Instead, it’s made with a ‘starter’ – a fermented mix of flour and water that contains wild yeast and good bacteria. This not only leavens the bread but also gives sourdough its characteristic tangy flavor and chewy texture.
Want to Save This Recipe?
Enter your email & I'll send it to your inbox. Plus, get great new recipes from me every week!
By submitting this form, you consent to receive emails from BENSA
Creating Your Sourdough Starter
Embarking on the journey of creating your own sourdough starter is a fulfilling experience, one that connects you to the very essence of traditional baking. Here’s a detailed guide to getting your starter going:
The Beginning: Mixing Flour and Water
- Initial Mix: In a clean jar, mix equal parts of flour and water. A common starting point is 1/2 cup of each. Use unbleached, all-purpose flour or whole wheat flour for best results. The water should be at room temperature.
- Covering: Cover the jar loosely with a cloth or a lid that’s not tightly sealed. This allows the mixture to breathe and capture wild yeast from the air.
- Location: Place the jar in a warm spot with a stable temperature, away from direct sunlight. Consistency in temperature is key to encouraging the growth of yeast and good bacteria.
Daily Feeding: Patience and Consistency
- Feeding Schedule: Every 24 hours, feed your starter. Remove half of the mixture (you can either use it for baking projects like pancakes or discard it), then add 1/2 cup of flour and 1/4 cup of water. Stir well to incorporate.
- Observing Changes: In the first few days, you might not notice much change. However, by days 3 or 4, your starter should start showing signs of life: small bubbles, a slight rise in the mixture, and a more pronounced aroma.
- Adjusting Consistency: Your starter should have a thick, paste-like consistency. If it’s too runny, add a bit more flour. If it’s too thick, add a bit more water. Consistency influences the activity of the yeast.
Nurturing Your Starter: Signs of Maturity
- Bubbling Activity: Around day 5 or 6, you should see more bubbling, an indication that the yeast is active and fermenting.
- Smell: The starter will develop a tangy, slightly sour smell – this is a good sign. It means the natural bacteria are creating the acidic environment necessary for sourdough baking.
- Doubling in Size: A mature starter will double in size within a few hours of feeding as the yeast produces gases. This shows it’s strong enough to leaven bread.
- The Float Test: To check if your starter is ready for baking, drop a small spoonful into a bowl of water. If it floats, it’s full of gas and ready to use.
Maintaining Your Starter
Once your starter is active, you can switch to feeding it with a ratio of 1:1:1 (starter, water, flour) for maintenance. If you bake often, keep it at room temperature, feeding it daily. If you bake less frequently, store it in the fridge and feed it once a week.
Creating a sourdough starter is more than just a step in baking bread; it’s nurturing a living entity in your kitchen. It’s a process that requires patience and attention but rewards you with a world of delicious possibilities. Your starter will become a cherished part of your kitchen, evolving and improving with time.
Ingredients for Your Sourdough Bread
- Active sourdough starter: 1 cup
- Flour: 4 cups (bread flour works best for its higher protein content)
- Water: 1 ⅔ cups (slightly warm)
- Salt: 2 teaspoons
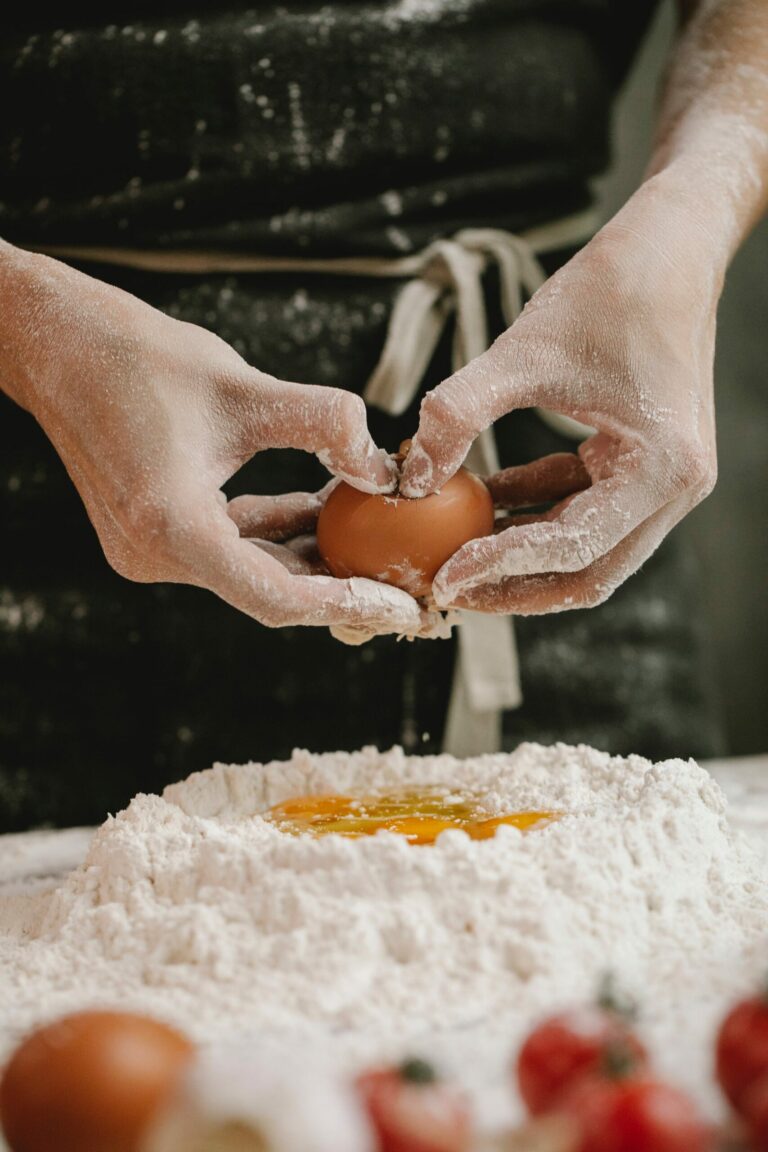
The Process: Patience and Care
- Mixing: Combine the starter, flour, and water in a large bowl. Mix until you have a shaggy dough. Cover and let it rest for 30 minutes.
- Adding Salt: After the dough has rested, add the salt. Wet your hands and fold the dough over itself several times.
- Bulk Fermentation: This is where the dough develops its flavor and texture. Leave the dough in a warm place for about 5 to 6 hours, folding it onto itself every hour.
- Shaping: Once fermented, gently shape the dough into a ball. Place it seam-side up in a well-floured proofing basket or a bowl lined with a clean kitchen towel.
- Final Rise: Let the dough rise for another hour or so until it’s puffy but not quite doubled in size.
- Baking: Preheat your oven with a Dutch oven inside to 450°F (230°C). Carefully invert the dough into the hot Dutch oven, score the top with a sharp knife, and cover. Bake for 20 minutes, then uncover and bake for another 30 minutes until the bread is deeply browned.
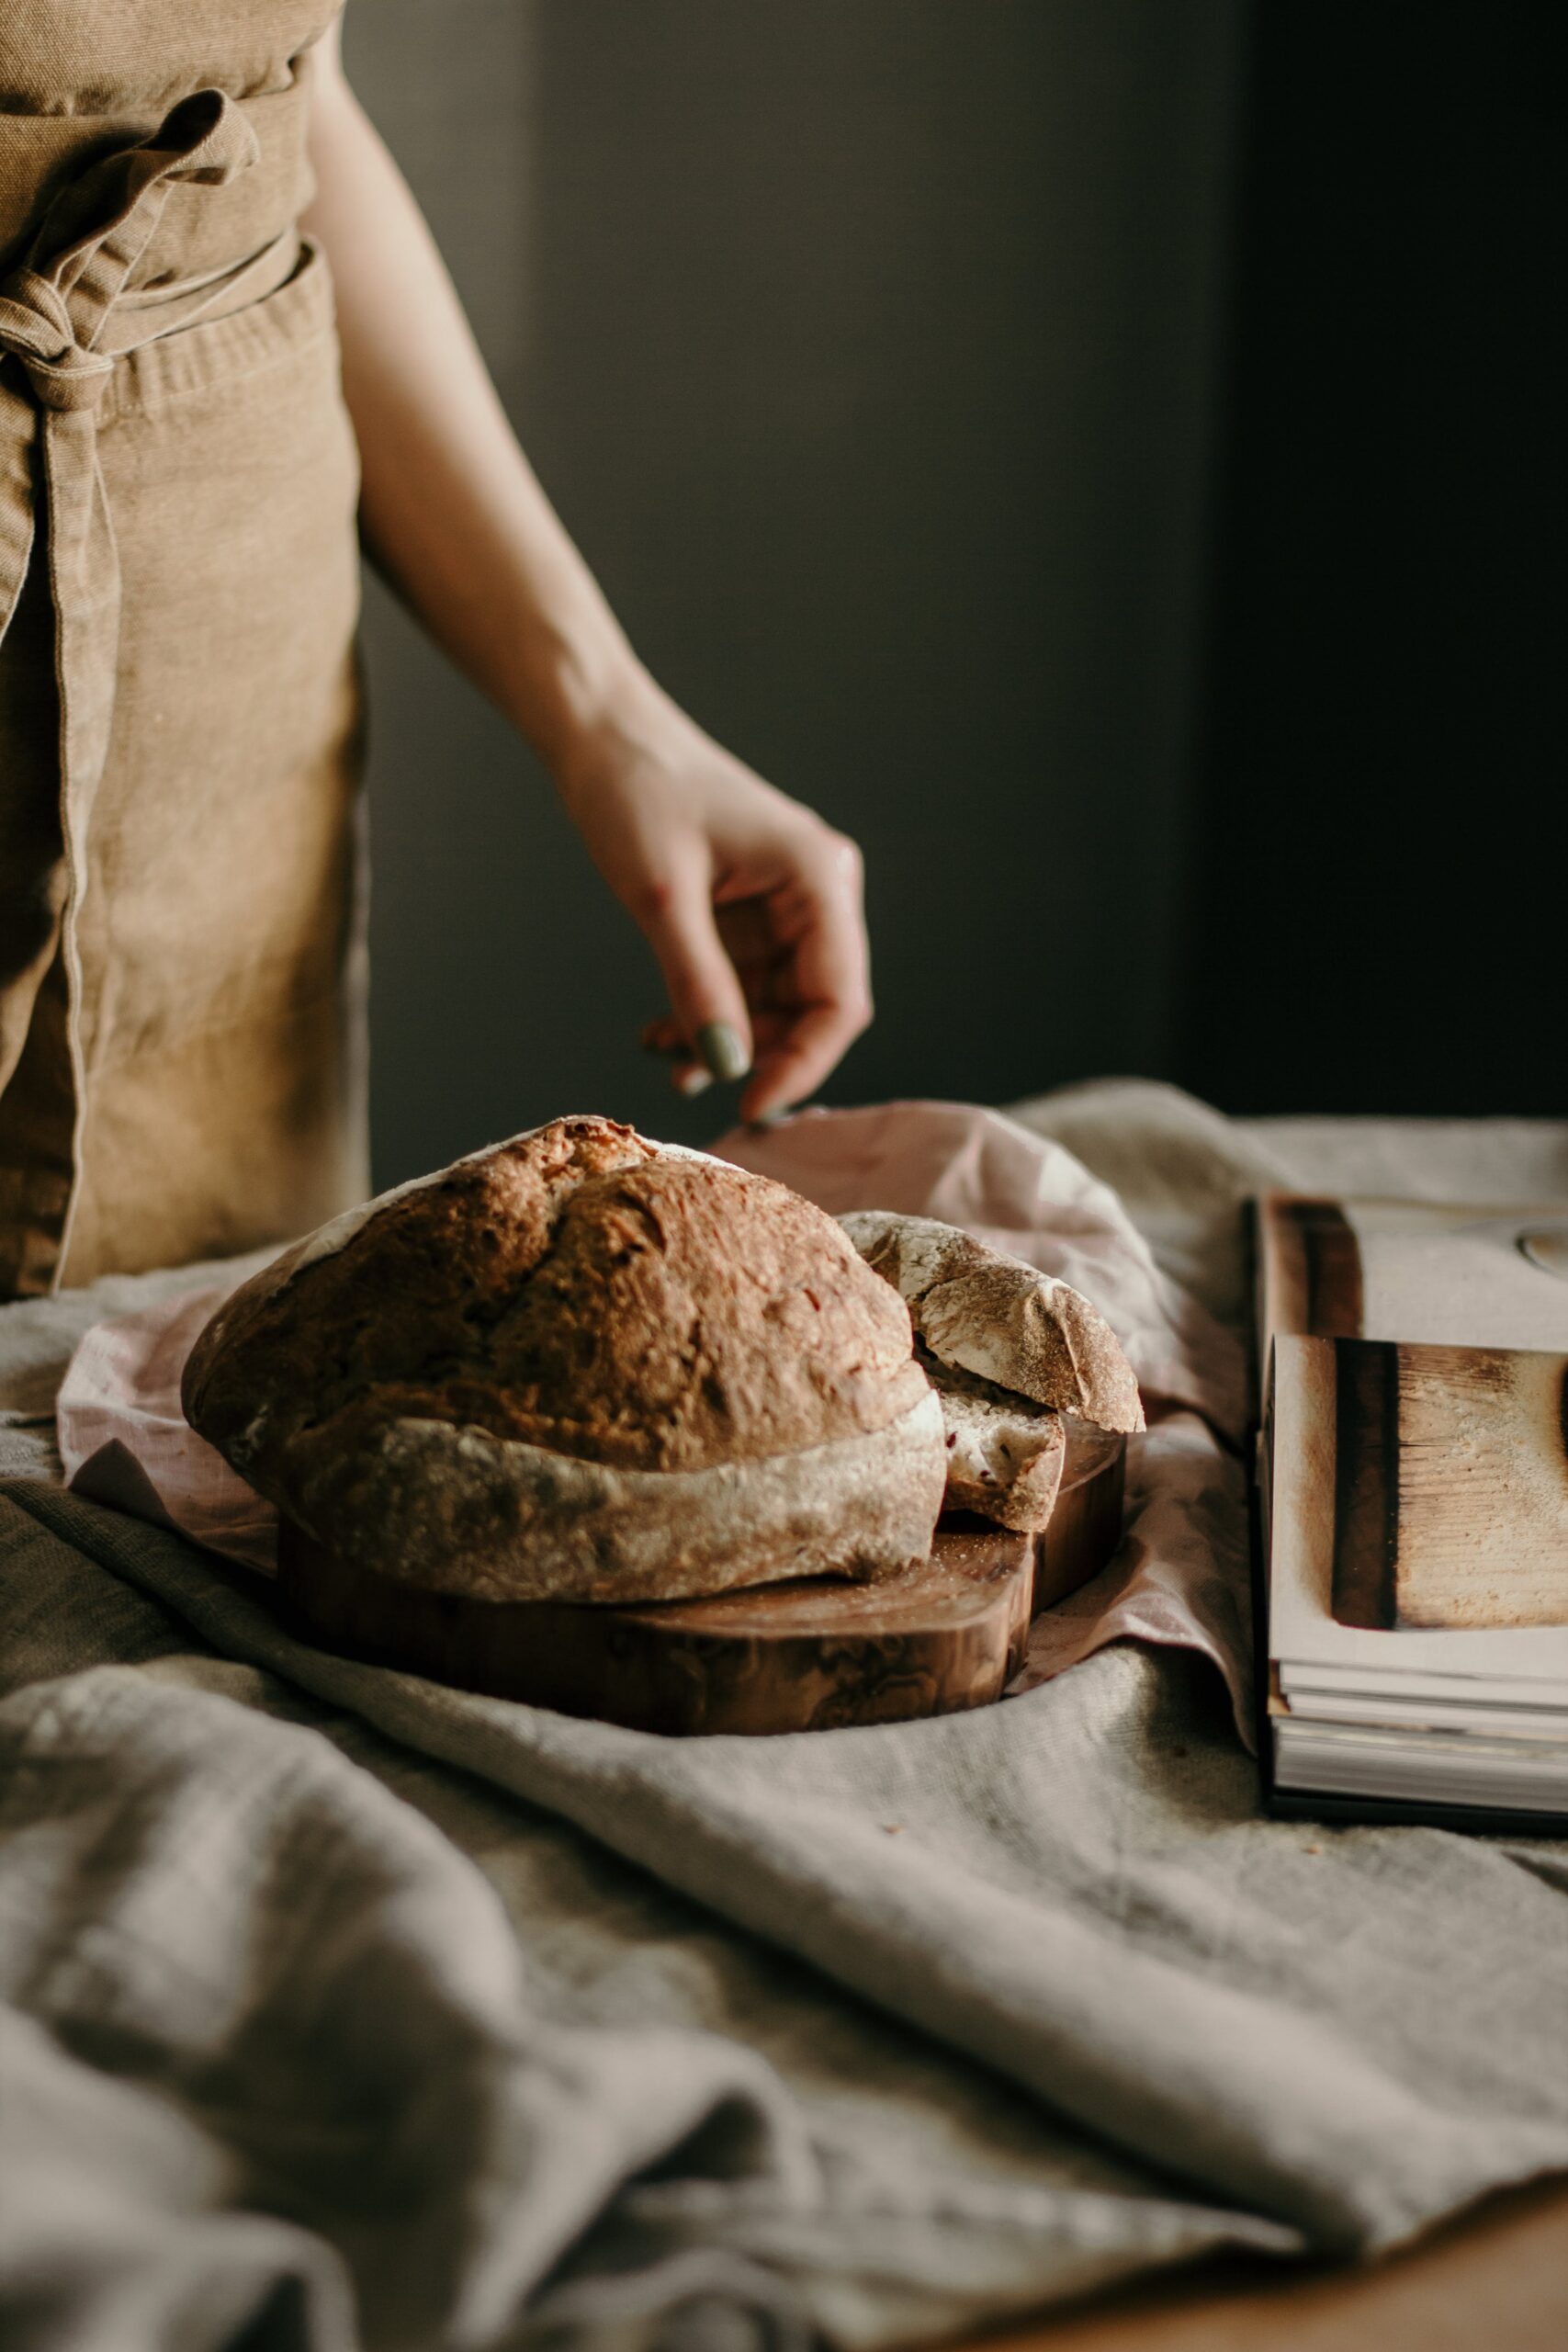
The Reward: Crusty, Chewy Delight
After hours of patience, your bread is ready. The crust should be golden and crispy, the inside soft and airy. There’s nothing quite like the smell of freshly baked sourdough wafting through your home.
This is More Than Just Bread
Making sourdough bread is a rewarding experience that connects us to a time-honored tradition. It’s about slowing down, savoring the process, and enjoying the unique taste that only sourdough can offer. So, grab your ingredients, and let’s embark on this sourdough journey together!

This was amazing!